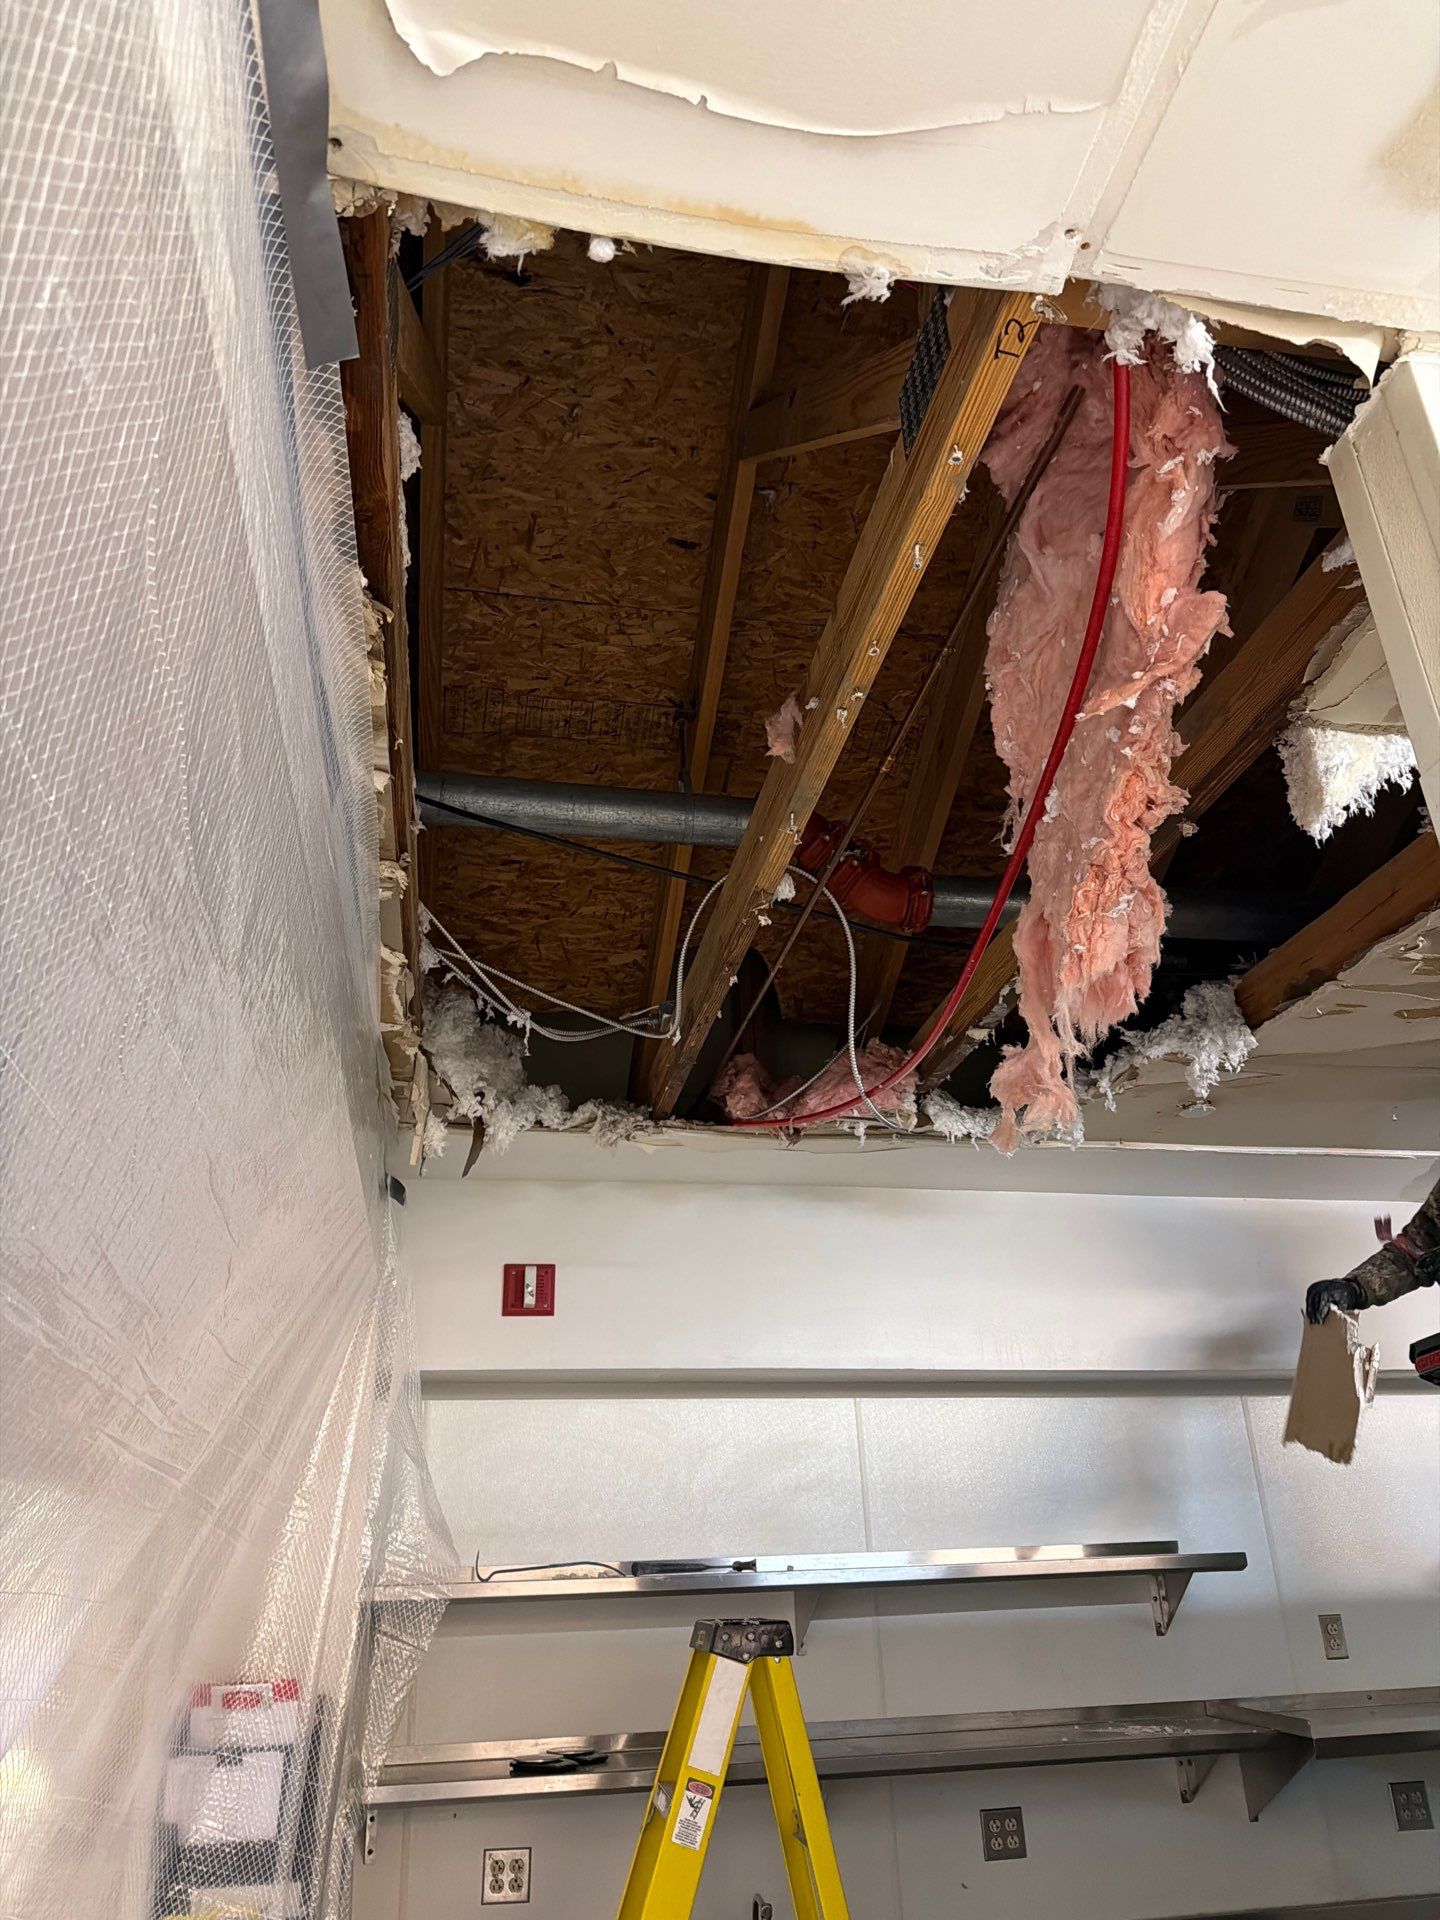
Step by-Step Technical Response to a Hidden Slow Leak
The following sequence is what a Eagle Trace Water Restoration lead technician executes from the moment we arrive on a Eagle Trace property. Each step has measurable targets.
Step 1: Intake and Visual Survey (0 to 20 minutes)
- Document the reported symptom: stain location, odor, warped flooring, or elevated water bill.
- Photograph all visible indicators with timestamp metadata.
- Shut off the suspected supply line if active leakage is confirmed.
- Identify Category classification per IICRC S500. Most slow supply leaks start as Category 1 but degrade to Category 2 within 48 to 72 hours.
- Interview the homeowner on the timeline: first noticed date, recent plumbing work, appliance age, and any prior repairs at the location.
- Check the water meter with all fixtures off. A spinning low flow indicator confirms ongoing loss even when no drip is visible.
Our crews are typically dispatched within 2 hours of the initial call in Eagle Trace, which keeps the Category 1 window open and reduces the scope of demolition required later.
Step 2: Non-Invasive Moisture Mapping (20 to 60 minutes)
- Sweep affected zones with a pinless moisture meter set to drywall scale. Target reading for dry gypsum: 0.3 to 0.8 on relative scale, or under 1.0 percent on calibrated meters.
- Confirm elevated zones with a pin meter driven 5/16 inch into drywall. Wet drywall typically reads 17 percent or higher.
- Run a thermal camera across walls, ceilings, and floors. Look for temperature deltas of 3 to 8 degrees Fahrenheit between dry and wet substrate.
- Mark the moisture perimeter with painter's tape and extend the boundary 12 inches past the last elevated reading.
- Record ambient temperature, relative humidity, and grains per pound (GPP) at three reference points: affected zone, unaffected interior, and exterior.
For deeper diagnostics, our team often references the techniques in moisture mapping with thermal imaging to confirm cavity saturation before any demolition.
Step 3: Source Verification
- Pressure test the suspected line at 60 to 80 PSI for 15 minutes. A drop greater than 2 PSI confirms an active leak.
- Inspect connections at angle stops, P-traps, supply braids, and ice maker lines. Slow leaks at braided supply lines account for roughly 30 percent of hidden residential cases we see.
- If the source is behind tile or finished cabinetry, perform a 2 inch by 2 inch inspection cut at the lowest moisture reading to confirm cavity condition.
- Check shower pan liners with a 24 hour dam test if a second floor bath is suspected as the source.
- Verify whether the leak is pressurized (supply) or drainage. Drainage leaks only show during use, so run fixtures for 5 minutes and re scan.
Step 4: Containment Setup
- Erect 6 mil polyethylene containment around the work zone if microbial growth is suspected, per S520 guidance.
- Install a negative air machine sized to deliver 4 to 6 air changes per hour in the contained space.
- Lay down protective film on adjacent flooring and seal HVAC registers in the affected zone.
- Post entry signage and log all personnel entering or exiting the containment during active remediation.
Step 5: Controlled Demolition and Material Decisions
Material removal follows strict thresholds. Use this reference for typical hidden slow leak conditions in Eagle Trace:
- Execute flood cuts 24 inches above the last elevated moisture reading on drywall.
- Remove and bag wet fiberglass or cellulose insulation. Wet insulation retains zero R-value and harbors mold within 72 hours.
- Pull base trim and document for reinstallation if salvageable.
- If hardwood cupping exceeds 1/16 inch across a board face, plan for sand and refinish after drying, not replacement, in most cases.
- Detach and quarantine wet carpet pad. Pad is rarely salvageable on hidden leaks because microbial activity is already advanced under the carpet face.
Step 6: Structural Drying Setup
- Calculate Air Mover count: 1 unit per 10 to 16 linear feet of wall, minimum 1 per affected room.
- Calculate Dehumidifier capacity: target 1 AHAM pint of refrigerant or LGR dehumidification per 30 to 50 cubic feet of affected space for Class 2 losses.
- Set target conditions: 60 to 80 degrees F ambient, 30 to 50 percent relative humidity, GPP differential of at least 30 grains between inside and unaffected reference air.
- Inject air into wall cavities using injectidry systems when cavity drying without full demolition is feasible.
- Position equipment to create a circular airflow pattern. Avoid dead corners where stagnant air slows evaporation.
Step 7: Daily Monitoring
- Record moisture readings at the same documented points every 24 hours.
- Target a 15 to 20 percent reduction in moisture content per day on framing lumber.
- Adjust equipment placement if any reading stalls for more than 48 hours.
- Track dehumidifier grain depression. A healthy LGR should pull 40 to 60 GPP below ambient in occupied conditions.
Most hidden slow leak jobs reach dry standard in 3 to 5 days. Larger losses or dense materials may extend to 7 days. The full water damage dry out timeline depends heavily on how long the leak ran undetected.
Step 8: Clearance and Reconstruction Handoff
- Confirm all monitored points read within 2 percentage points of unaffected reference materials.
- Conduct a final thermal sweep to verify no residual cold spots.
- If mold was present, perform post remediation verification per S520 before rebuild.
- Document final readings, equipment hours, and material disposal for the insurance claim process.
Reconstruction then proceeds with insulation replacement, drywall hang and finish, paint, and trim reinstallation. The technical work is finished only when the cavity is verifiably dry, not when it looks dry.
Step 9: Preventive Recommendations
- Replace braided supply lines older than 8 years on toilets, sinks, and washing machines. Failure rate climbs sharply past that mark.
- Install a flow based leak detection device at the main supply. Modern units shut off the home automatically when continuous flow exceeds set thresholds.
- Add water sensors under dishwashers, refrigerators, water heaters, and bathroom vanities. Sensor cost is low compared to a single hidden leak claim.
- Schedule an annual plumbing inspection that includes pressure regulator check. Static pressure above 80 PSI accelerates fitting fatigue.
- Insulate supply lines in unconditioned spaces to reduce condensation that mimics and masks slow leaks.
Eagle Trace Water Restoration provides the same documentation package to every Eagle Trace homeowner: moisture logs, photo records, equipment runtime, and material disposal manifests. That package is what carries a clean claim through adjuster review without back and forth on scope.